
Onesie Dress Tutorial

I am always looking for new ideas for dressing up ordinary things. We all know that babies live in onesies for the first few months, because let’s face it…they’re just so much easier to put on and take off. Here is a quick and easy idea for sprucing up those boring old plain white onesies. They are so easy to make. You’ll be finished in less than thirty minutes. Plus, you finally have a way to get rid of those fabrics on your scrap pile.
A Tip: I pick up my onesies at Joanns or Michaels. You can pick up a 5pack of Gerber brand onesies for $9.99. And with a 40% coupon, they’re only$6.00. Do the math, that’s only $1.20 a piece. That’s a great deal!!! They have multiple sizes: 0-3 months, 6-9 months, 12 months, and 18 months.
Materials Needed:
-1 Onesie (Any Size)
prewash onesie and iron before assembling dress
-1/4 Yard of cotton print or solid fabric
-Matching Thread
Begin by breaking out your iron and ironing board. Take one long edge of your fabric and fold it up ¼” wrong sides together. Press it down with an iron. Fold the edge over one more time and press with iron.

Next machine stitch along the top edge of your hem. You can choose to use either a straight stitch or a zigzag stitch to hold your hem in place. I usually use a straight stitch with a print fabric and a zigzag stitch with a solid fabric. I think the zigzag stitch gives it a little extra flare. But it’s your choice.

Next you’ll want to sew a basting stitch along the other long side that has the raw edges exposed. Use a ½” seam. Do not backstitch at either end. You’ll want to leave both ends open, so you can gather the fabric.

It should look like this:

Here’s the fun part…gathering the fabric. It can get a little tricky. Start slow, so that you don’t snap your thread. Holding onto the top left corner of your fabric, pull the bobbin thread to gather it. You’ll want to gather the fabric until it is twice the width of your onesie when it's slightly stretched out.

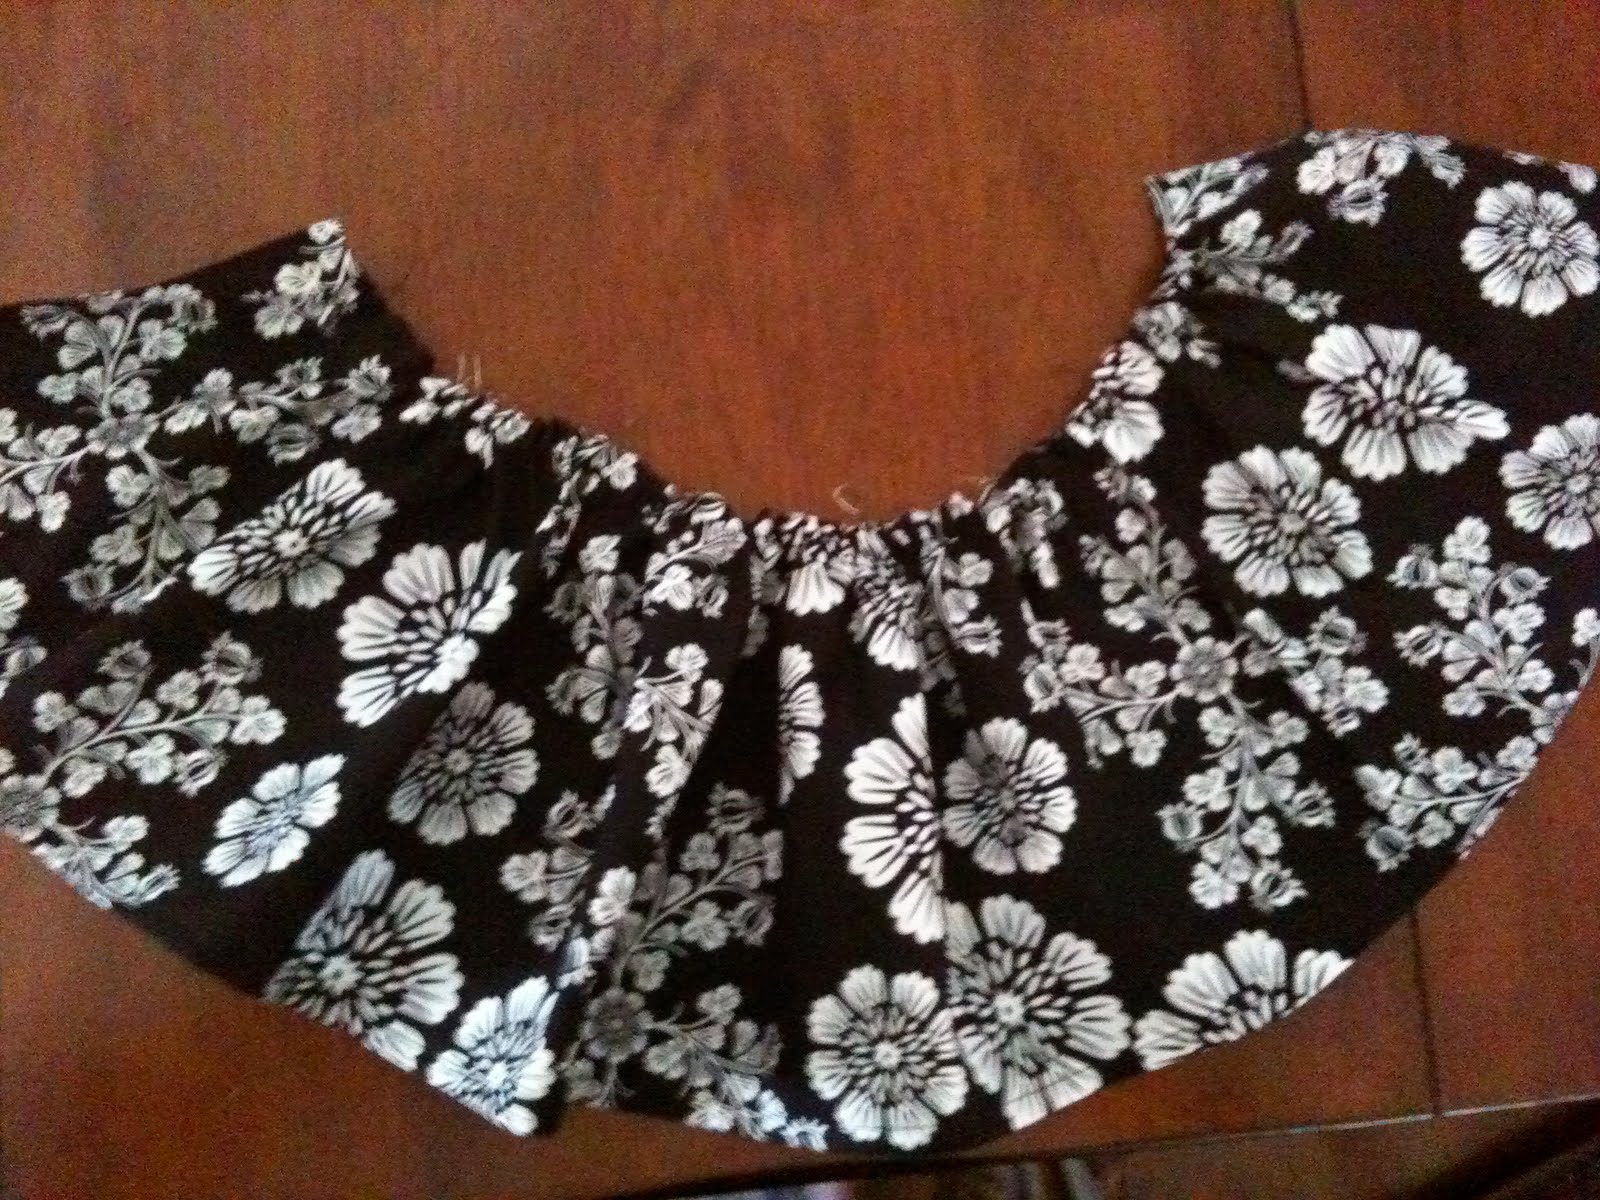
This is what the skirt should look like once you’ve finished:
Next we’re going to finish our skirt. Fold your skirt in half right sides together. Match up the bottom hem.

Machine stitch the side together. Press the seam open. Then finish off the raw edges by sewing a zigzag stitch or an overlock stitch.

It should look like this when you’re finished:

Turn your skirt inside out to see how much progress you’ve made. Looks pretty good so far, huh?

So we’re almost finished. Now turn your attention to your onesie. Draw a chalk line at the waistline across the front and back of your onesie.

Now turn your skirt inside out again. It’s time to attach your skirt to your onesie.

With your onesie right-side out, open up the bottom. Slip it onto the narrow end of your ironing board with the neckline hanging off. Now slip the skirt with the gathered edge first over the onesie Make sure the seam is facing down and is centered. Pin the skirt in place. It should look like this so far.

Now flip the skirt over on your ironing board. Line up the edge of your skirt with your marked line. Pin the skirt in place.

Machine stitch a 5/8” seam along the raw edge to secure the skirt to the onesie. Make sure you backstitch at each end. It doesn’t have to look pretty. No one will see it.

Remove the pins from your skirt. Flip it over. Go ahead and admire your work. Looks pretty good so far! Take your iron and flatten skirt out a little bit. That’s right, you’re amazing!!! And the best part, you were so quick, you have time to make a few more. I mean, you did buy a 5pack, right? So away you go and now baby has a new wardrobe.

As a bonus, I like to add an applique to the chest of my onesie. I like to cut a small piece of the printed fabric and appliqué it onto the onesie. I think it adds a little flair to your cute little dress. Check out my tutorial on appliqué techniques. It’s a lot easier that you might think.


Enjoy!
Thanks for this easy tutorial! I saw another cute onesie dress idea, but wasn't sure how to stretch out the onesie to sew the skirt part on. The ironing board technique is a great idea!
ReplyDelete