

Reusable Snack Bag Tutorial
So Back-to-School week is under way. I hope that you have found some of these recipes and tutorials have been helpful. These next two tutorials are going to be geared towards making lunchtime more interesting. Today we are going to make reusable snack bags. I love these, because I hate Ziplock bags. I buy the giant 3pack of Ziplock bags at Costco and use them for everything. What bothers me about them is that you use them once and then throw them away. If you hate throwing them out as much as I do, these little snack bags are the perfect solution! So pick out some really cute printed fabric and let’s get to work.
These reusable bags are extremely simple and easy to make, so cut out multiple pieces so you don’t have to go backwards. They make great gifts too! Pick out some fun prints and put together a few sets for your nieces and nephews or your grandchildren. They’ll be a hit. I can promise you that. Our finished bags will measure 5 ½” x 6 ½”. You can adjust the size of the bags to make them bigger or smaller by changing the measurements of the fabrics you start with.

Materials Needed:
For a Set of 3
¼ yard Printed Fabric for the Exterior
¼ yard Utility Fabric or Osnaburg Fabric for the Lining
½ yard Sew-On Velcro
Matching Thread
Tip: When choosing which fabric you would like to choose for your lining, here’s a way to decide. The Utility Fabric is best for foods that might melt or be sticky. The utility fabric is easily cleaned by wiping the inside of your snack bag. The Osnaburg Fabric is best for foods that crumble like crackers. I recommend making your sets of snack bags using both the utility and the osnaburg fabric.
We’ll begin by cutting our fabrics and Velcro. These instructions are for making a set of three bags. So if you would like to make more, just adjust your measurements accordingly. Cut three rectangular pieces of your exterior fabric measuring 7” x 12.” Then cut three rectangular pieces of your lining fabric measuring 7” x 12.” Cut three 6” pieces of Velcro.

On each piece of lining fabric, pin your pieces of Velcro on each end, about 1/2" in from the edge.
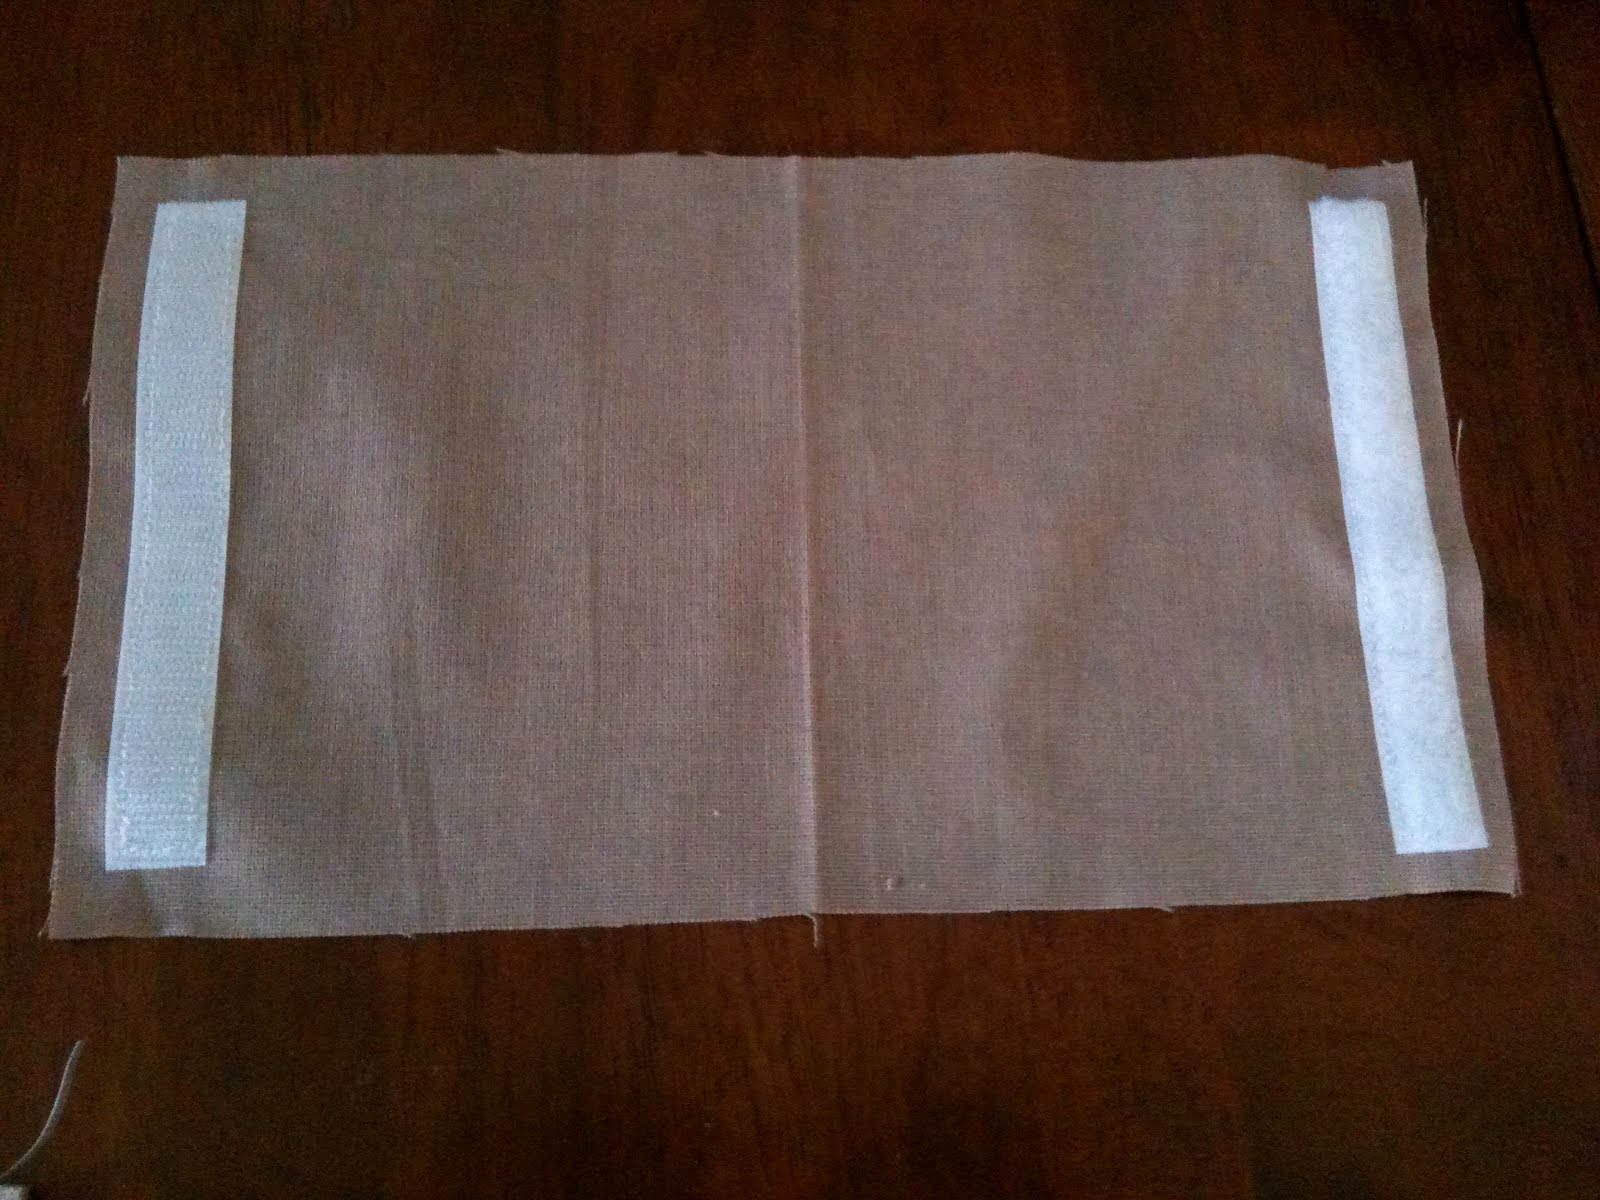
Machine stitch the Velcro to your fabric. Stitch close to the edges on all four sides and backstitch at both ends.

Place your lining and exterior fabric right sides together. Match up your raw edges and pin them in place.

Machine stitch around the edges of your fabric using a 1/4" seam, and backstitch at both ends. Leave a 3” opening on one side, so you can turn you bag right side out.

Time to turn your bag right side out. Trim your corners at a 45 degree angle and the pull your bag right side out. Press your bag with an iron.

Machine stitch along the top edge of each end of your bags, about ¼” from the edges.

Almost finished! Fold your bag in half lining sides together. Match up your top edges and Velcro.

Machine stitch the sides of your bags together. Use a ¼” seam and backstitch at both ends.

Great news…….You are fininshed! Now open up your snack bags and fill them up with your yummy snacks. I told you they were easy!

Tomorrow we will be making Lunch Bags. You’ll have something to put your reusable snack bags in.

Enjoy!
No comments:
Post a Comment